Setup Hardhat and Deploy Your First Smart Contract
Hardhat guide for writing and deploying smart contracts
CS undergrad | Full-Stack dev | Exploring the world of web3
For most developers who just start learning Web3 & Solidity, choosing the best development environment can be overwhelming and could become the learning progress barrier. In this article, we will learn how to set up a development environment and deploy your smart contract using Hardhat.

What is Hardhat?
Hardhat is a development environment for dApps. It consists of different components for editing, compiling, debugging, testing and deploying your smart contracts and dApps, all of which work together to create a complete development environment.
Hardhat is unopinionated in terms of what tools you end up using, but it does come with some built-in defaults. We will use the built-in defaults and some additional plugins. The plugins you need for most scenarios are covered in this setup.
System Requirements
Since Hardhat libraries and tools are written in JavaScript. you have to install Node.js and npm in your system. And also any code editor should work, but I prefer Visual Studio Code editor since it has Solidity + Hardhat extension that provides Solidity language support and Hardhat integration.
Creating a Hardhat project
Create a new empty directory named hardhatDemo, then go inside. First, we initialize a fresh Node.js project using npm :
npm init -y
Then you need to install Hardhat:
npm install --save-dev hardhat
Now run "npx hardhat" , then you will be shown some options:
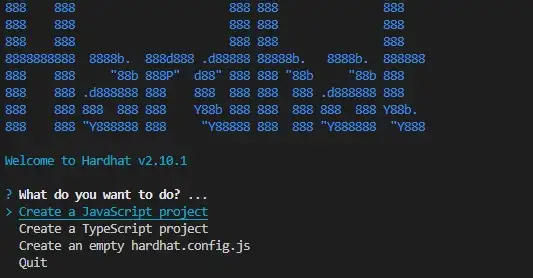
In this tutorial, I'll be choosing the “Create a Javascript project” option, then select (y) to add .gitignore . Then you will have the project initialized with the following structure:
contracts/ scripts/ test/ hardhat.config.js
These are the default paths for a Hardhat project.
contracts/is where the source files for your contracts should be.test/is where your tests should go.scripts/is where simple automation scripts go.
Dependencies and Plugins Installation
Now we will install the necessary dependencies and some useful plugins.
The most important of these dependencies is the Hardhat Toolbox, a plugin that bundles almost all the things you need to start developing dApps. Run the following command:
npm install --save-dev "hardhat@^2.10.1" "@nomicfoundation/hardhat-toolbox@^1.0.2"
This plugin is so essential because it bundles all the commonly used packages that previously we had to install separately to start developing with Hardhat.
Note: Please install @hardhat-toolbox with a version greater than 1.0.2 to avoid installation issues.
While you can arguably say this plugin may not be essential, using prettier for automatically formatting your code as early as possible is a good practice for code readability and following best practices to write your Solidity code.
Run the following command to install prettier and prettier-plugin-solidity :
npm install --save-dev prettier prettier-plugin-solidity
(optional) you can override prettier default configuration with your preferences, create .prettierrc file in the root project directory and put the configuration there:
{
    "tabWidth": 4,
    "useTabs": false,
    "semi": false,
    "singleQuote": false
}
Those lines are just examples based on my preference, you can read more about what you can configure in prettier docs.
dotenv is a zero-dependency module that loads environment variables from a .env file into process.env. Since we will work a lot with external APIs and wallets when developing dApps. It is best practice to store your wallet private key and API key on .env located in your root project directory then load it in your code programmatically.
npm install dotenv --save --force
Note: Please put your .env in your .gitignore file, and always use separate “not so important” wallets for your development. Never share and expose your wallet's private key!
And that should finish dependencies and plugin installations.
Alright! Now, let’s get a private key for our wallet, some test ETH for gas, and an Ethereum node in place; all of which we'll need to deploy our smart contract.
Getting the private key
We’ll need an Ethereum wallet/address to sign the smart contract deployment transaction. To set up the wallet, get its private key and add it to the config file of hardhat.
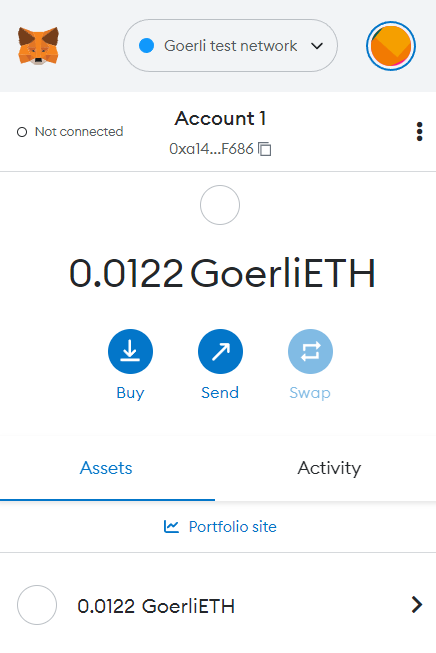
You can get a private key from your MetaMask wallet. To do so, open your MetaMask browser plugin, select the Goerli test network and click on the three dots below the favicon.
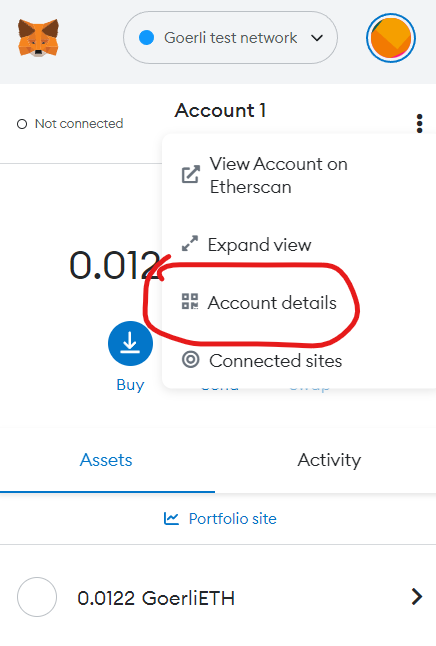
Now, click on “Account details”
Then click on “Export Private Key”
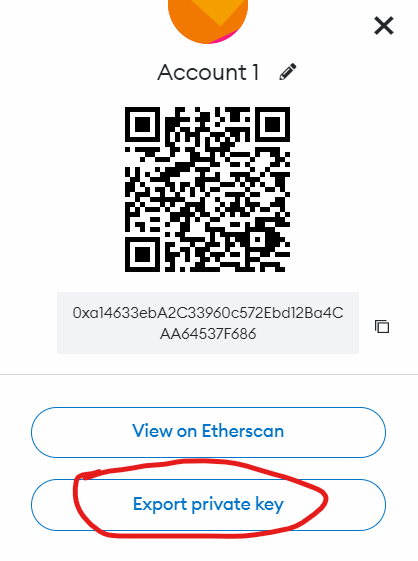
Enter your password and click on confirm. It’ll display your private key (similar to the above image).
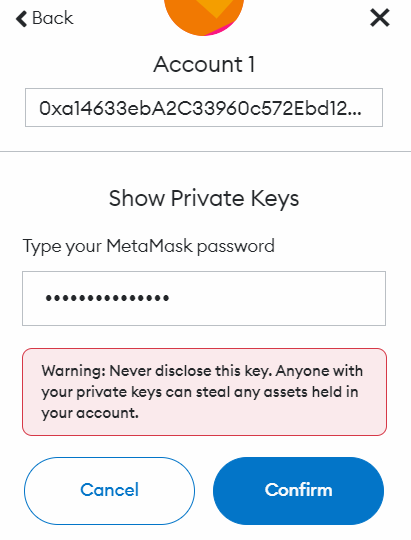
Copy and save the private key; we’ll need it in the later steps.
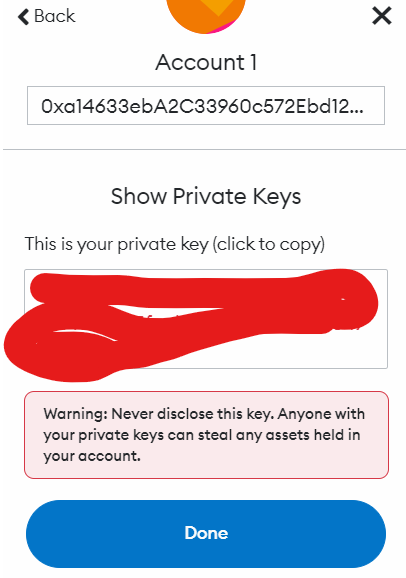
Note: It is recommended to store sensitive information like private keys in a .env file and get it into the config file using env variable or make a new secondary MetaMask wallet for development purposes.
Getting testnet ETH
We’ll deploy our contract on the Goerli testnet. To get started, we will need some test ETH in our MetaMask wallet, which we saw in the last step. You can get it by going to the Goerli faucet. You'll need to select “GoerliTest Network” on your MetaMask wallet, copy-paste the wallet address into the text field in the faucet, and then click “Send me ETH”.
Booting an Ethereum node
To deploy our contract on Ethereum’s Goerli blockchain we will need access to an Ethereum Goerli node. For that, we could use pretty much any Ethereum client such as Geth or OpenEthereum (fka Parity). Since that is a bit too involved for deploying a single contract, I'll just grab a free trial Goerli endpoint from QuickNode to make this easy. After you've created your free Ethereum endpoint, copy your HTTP Provider endpoint.
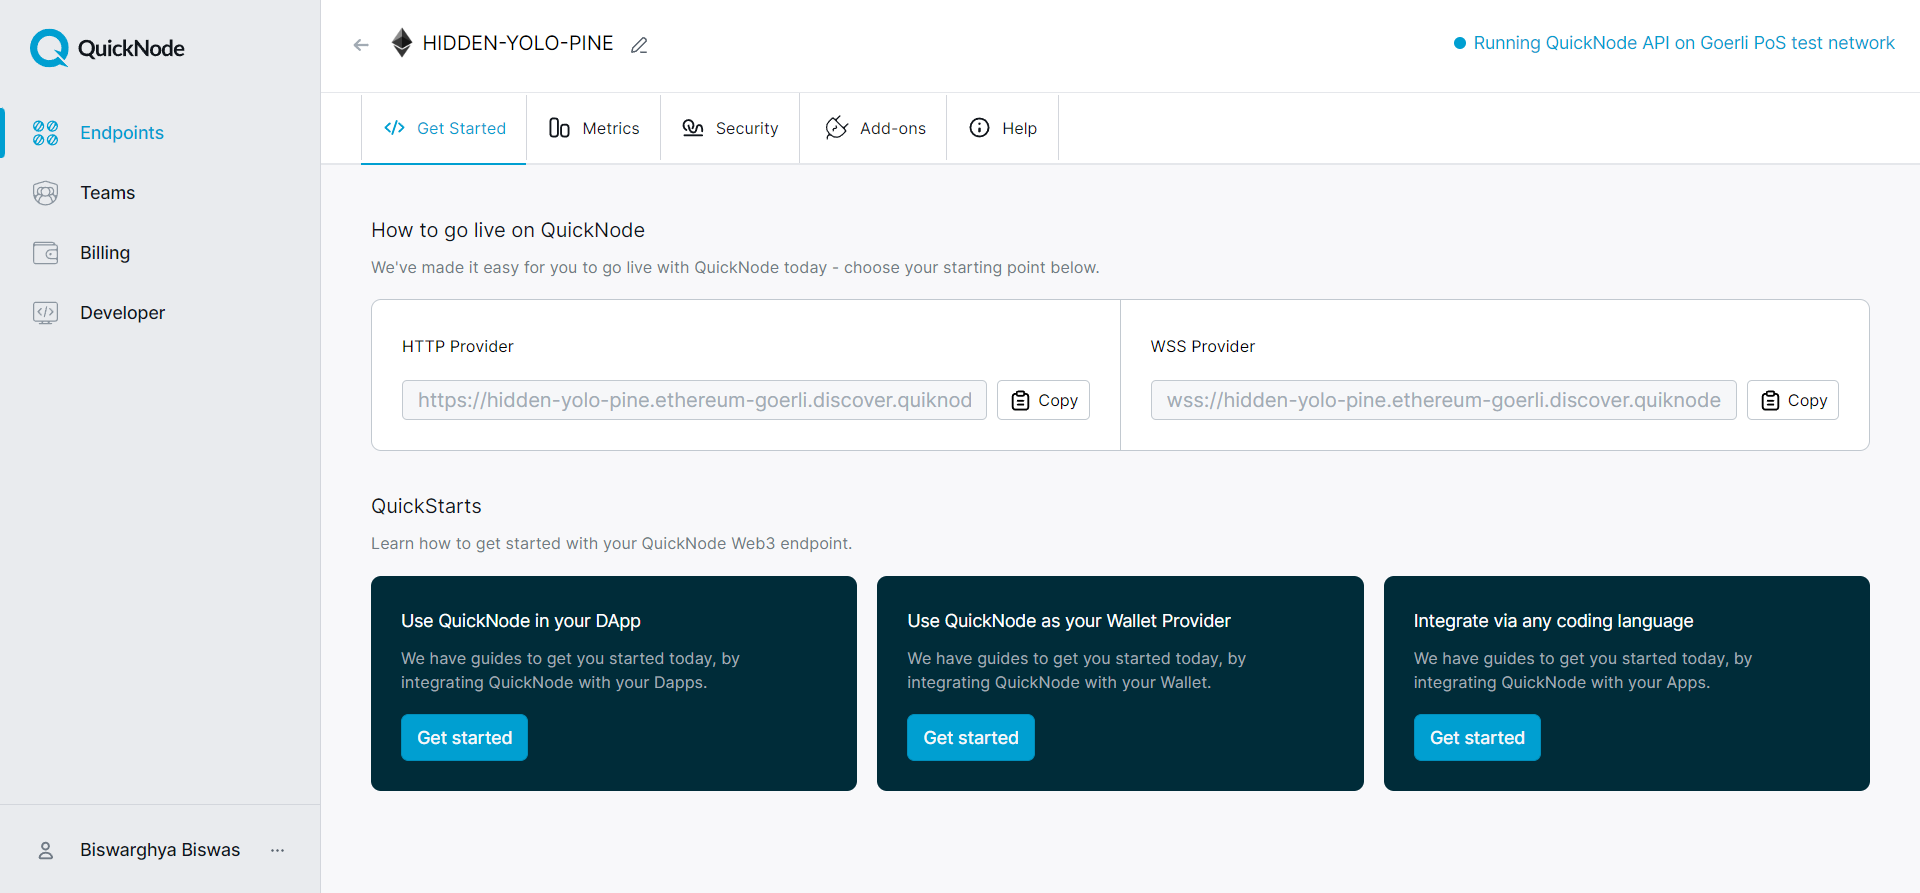
You'll need this later, so copy and save it.
Setting up the config file
Open the hardhat.config.js file and paste the following into it:
require("@nomiclabs/hardhat-waffle");

/**
 * @type import('hardhat/config').HardhatUserConfig
 */

const Private_Key = "ADD_YOUR_PRIVATE_KEY_HERE"

module.exports = {
  solidity: "0.8.17",
  networks: {
      goerli: {
          url: `ADD_YOUR_QUICKNODE_URL_HERE`,
          accounts: [`0x${Private_Key}`]
      }
  }
};
Replace ADD_YOUR_PRIVATE_KEY_HERE with the private key we obtained in the previous step and replace ADD_YOUR_QUICKNODE_URL_HERE with the HTTP node URL we obtained in the previous step.
Explanation of the code above:
Line 1: Importing the hardhat-waffle package.
Line 7: Storing our private key in the Private_Key variable.
Line 9-17: Mentioning Solidity version, network type, node URL, and accounts where we are supplying the private key and adding 0x as a prefix.
Save the file.
Disclaimer: For the simplicity of this tutorial, I've added the RPC_URL and Private key in the hardhat.config.js file. It is advisable to add these as env variables separately into process.env. by creating a .env file in the root.
Creating contract
Now, for our contract, create a new directory "contracts" and place a new file "helloworld.sol" inside.
// SPDX-License-Identifier: MIT
pragma solidity ^0.8.17;

contract HelloWorld {

    string saySomething;

    constructor() {
        saySomething = "I Love web3!";
    }

    function speak() public view returns(string memory) {
        return saySomething;
    }
}
Explanation of the code above:
Line 1: Specifying SPDX license type, which is an addition after Solidity ^0.6.8.
Line 2: Declaring the solidity version.
Line 4: Starting our contract named HelloWorld.
Line 6: Creating a variable saySomething of type string.
Line 8-10: Initiating the constructor and storing the string “I Love web3!” in the saySomething variable.
Line 12-14: Creating a function called speak of type public, which will return the string stored in the saySomething variable.
Save the file and compile the contract using the following hardhat command.
npx hardhat compile
If your contract compiles successfully, it will give an output like this:

Running Tests
Using the generated helloworld.sol contract, we can write our custom testcases using this command :
npx hardhat test
As it is a very basic smart contract, writing and running test cases is not necessary.
Deploying contract
By default, Hardhat provides a local deployment network, where you can deploy the smart contract locally. In this tutorial, I'll be using the Goerli testnet to deploy the smart contract.
Now to deploy our contract, let’s create a deploy.js file in a new directory named scripts.
Copy-paste the following into your deploy.js file:
async function main() {

    const [deployer] = await ethers.getSigners();

    console.log(
    "Deploying contracts with the account:",
    deployer.address
    );

    console.log("Account balance:", (await deployer.getBalance()).toString());

    const HelloWorld = await ethers.getContractFactory("HelloWorld");
    const contract = await HelloWorld.deploy();

    console.log("Contract deployed at:", contract.address);
}

main()
  .then(() => process.exit(0))
  .catch(error => {
    console.error(error);
    process.exit(1);
  });
Explanation of the code above.
Line 1: Starting an async function.
Line 3: Getting the Ethereum address to sign the transaction and storing it in the deployer address.
Line 5-8: Printing the Ethereum address along with a string to the console.
Line 10: Printing the balance of the Ethereum address in wei to the console. Wei is the smallest unit of ether, one Wei = 10^−18 ETH.
Line 12: Calling the ethers.js method ContractFactory. This will look for the "HelloWorld.sol" file, and return an instance that we can use ContractFactory methods on.
Line 13: Calling deploy on ContractFactory to deploy the contract.
Line 15: Printing the address of the deployed contract to the console. Line 18: Invoking the function "main".
Line 19-22: Checking for errors, printing if any errors, and exiting the process.
Save the file and run the following to deploy the contract.
npx hardhat run scripts/deploy.js --network goerli
Note: The network flag can be skipped if deploying to the mainnet.
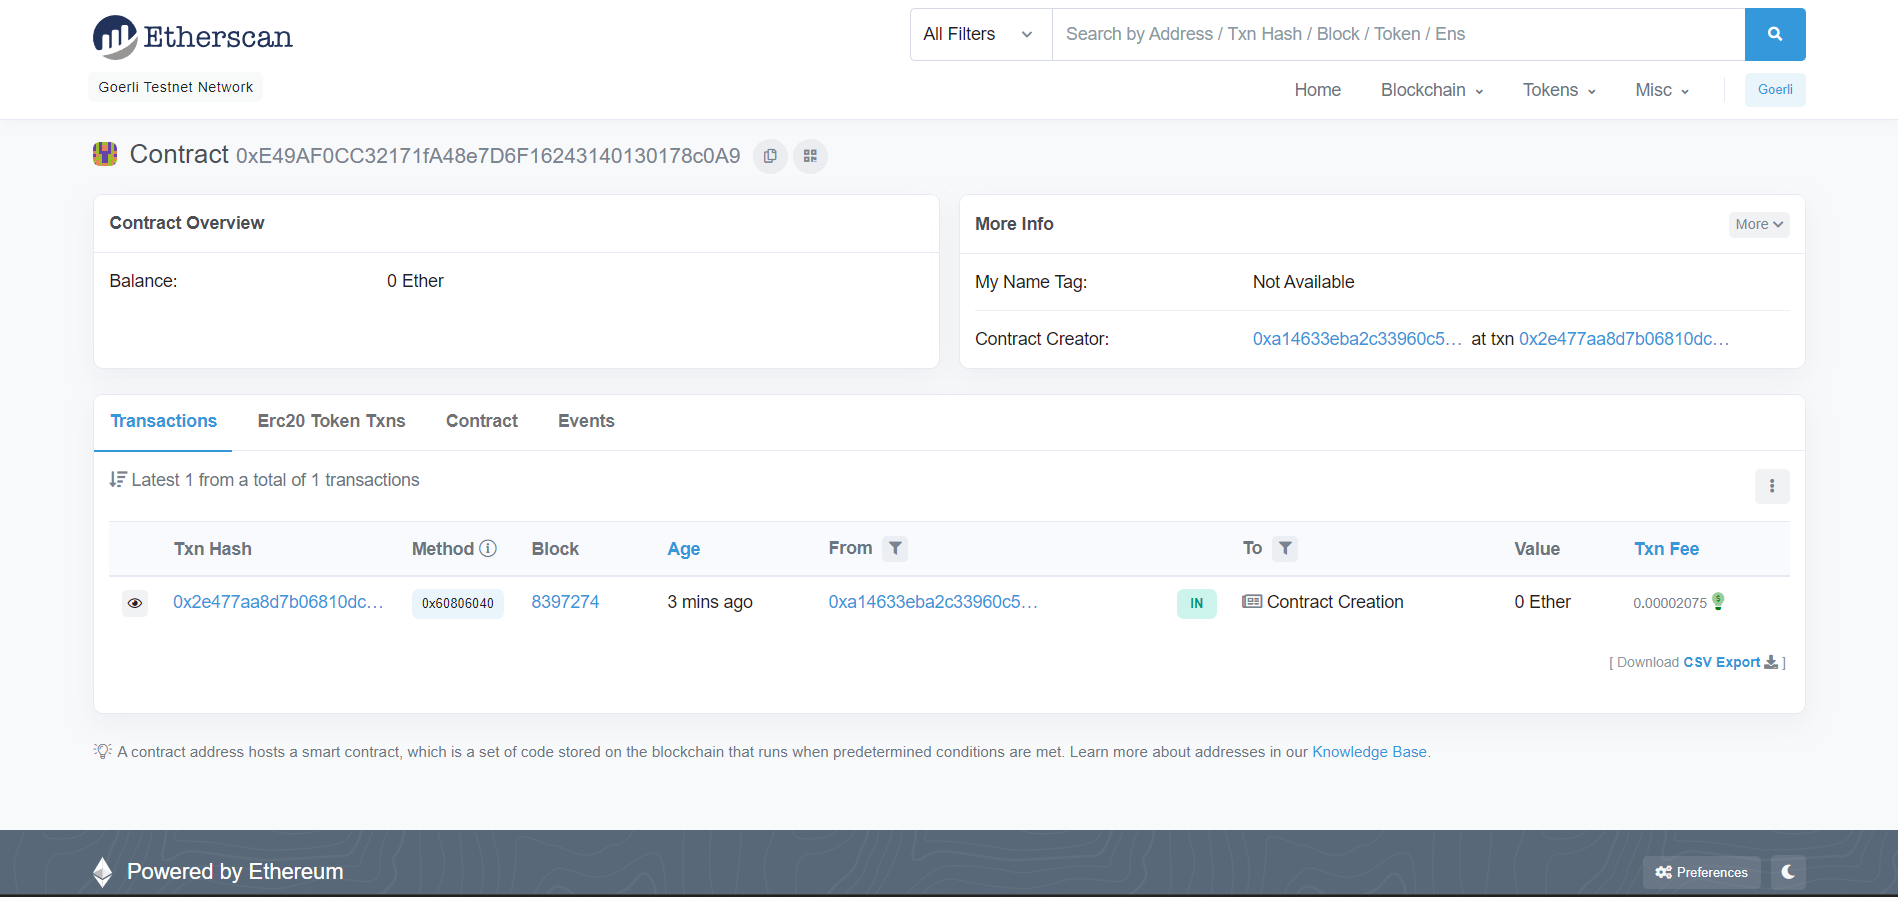
On the successful deployment of the contract, you will see an output containing the deployed contract’s address.

We can verify the deployment by copying and pasting the deployed contract’s address into Goerli Etherscan’s search bar. This will display information about the deployed contract.
What's Next!
Congratulations! You just wrote your first smart contract and followed the cycle of developing, testing and deploying using Hardhat to Goerli testnet. From here, you can enhance your knowledge of Solidity for development. Chai and Mocha for testing your smart contracts.
Check out my other smart contract development project in this GitHub repo.
Hi there, I'm Biswarghya Biswas! If you enjoyed this post, feel free to share. And make sure to follow me on Twitter and also connect on LinkedIn👋
